How to Set Up SPF Records for Email
SPF records are essential for email authentication, allowing domain owners to specify which servers possess authorization to send emails on their behalf. Setting up a Sender Policy Framework (SPF) record involves creating a DNS TXT entry that lists approved sending sources.
This process ensures proper domain verification and improves inbox placement. A correctly configured SPF record enhances deliverability, prevents spoofing, and protects your email reputation. An incorrect setup can lead to spam filtering or immediate message rejection by receiving servers.
Why Most SPF Setups Fail (And Emails Still Go to Spam)
Many users believe they have set up SPF successfully, yet their emails continue to land in the spam folder. A broken SPF record often creates more deliverability problems than having no SPF record at all.
These failures usually stem from a few common mistakes that administrators overlook. Discover the primary reasons behind authentication failures:
- Missing sending sources that fail to authorize legitimate email platforms.
- Multiple SPF records that conflict and cause immediate validation failure.
- Incorrect syntax that renders the entire DNS TXT entry unreadable.
What SPF Records Actually Do in Email Authentication
SPF acts as the foundational layer of email security for modern organizations. This protocol allows receiving servers to check if a sender holds authorization via a simple DNS lookup.
Implementing this protocol achieves several critical security objectives for your domain. Consider these essential functions:
- Verify sender identity: Ensure messages are sent from authorized servers.
- Prevent spoofing and phishing: Protect your customers from fraudulent emails pretending to be from you.
- Enhance security: Works with DKIM and DMARC to create a stronger defense against email-based threats.
How SPF Records Work (Step-by-Step Process)
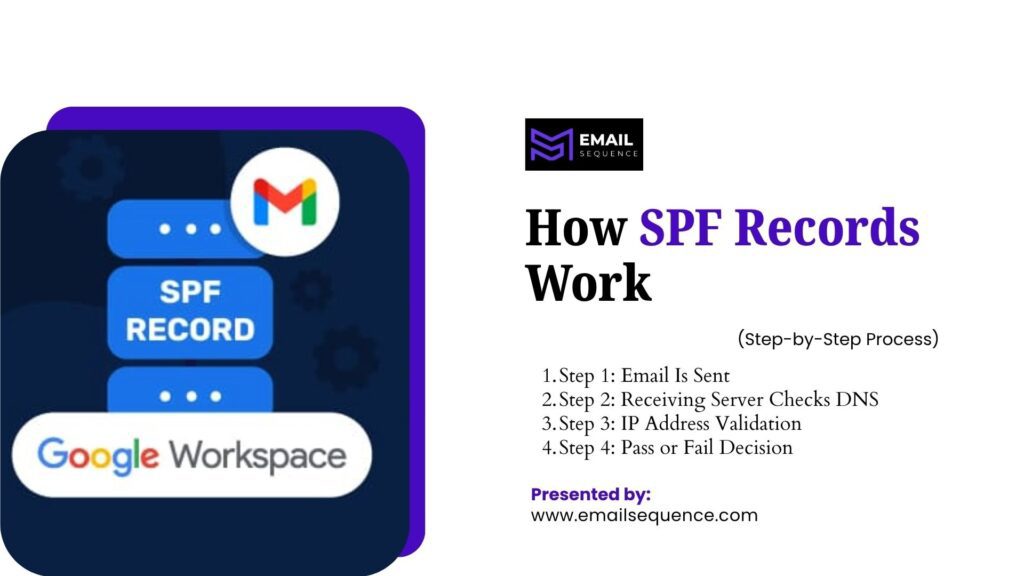
SPF validation happens automatically in milliseconds during the email delivery sequence. SPF compares the sender IP address with the authorized list stored in the domain’s DNS.
Step 1: Email Is Sent
When a user sends an email, their mail server (like Gmail or Outlook) starts the process by connecting to the recipient’s mail server. This initial “handshake” is where the technical conversation begins, and the recipient’s server prepares to verify the sender’s identity before accepting the message content.
Step 2: Receiving Server Checks DNS
The recipient’s server performs a DNS lookup to find the SPF record for the sender’s domain (the part of the email address after the “@” symbol). This record is a publicly available TXT file that lists all the IP addresses and mail servers authorized to send emails on behalf of that domain. Think of it as the server checking the domain’s official ID.
Step 3: IP Address Validation
The receiving server compares the IP address of the sending server with the list of authorized IP addresses in the SPF record. This is the core of the validation process. If the sending server’s IP is on the list, it’s considered legitimate.
Step 4: Pass or Fail Decision
If the IP address is found in the SPF record, the email “passes” SPF authentication and is delivered to the inbox. If the IP address does not match, the email “fails.”
Based on the domain’s DMARC policy, a failed email might be marked as spam, quarantined, or rejected outright, never reaching the recipient.
Before You Set Up SPF: Identify All Your Email Sending Sources
Administrators must identify all sending services before altering any DNS records. Missing even one legitimate sender will break SPF validation for those specific messages. All sending services must reside within a single SPF record to function correctly.
Organizations utilize numerous platforms to communicate with their audiences. Review these common sources that require authorization:
- Google Workspace or Microsoft 365 for primary corporate communications.
- CRM platforms such as Salesforce or HubSpot for sales outreach..
How to Set Up SPF Records (Step-by-Step Guide)
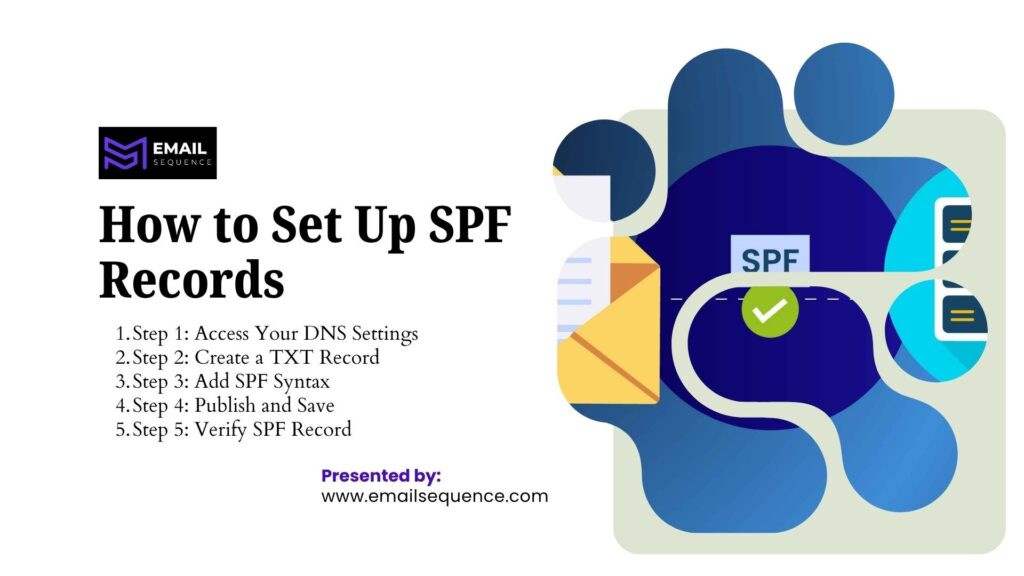
Administrators must follow a strict process to correctly configure their authentication protocols. SPF records must always function as DNS TXT entries within your domain management portal.
Step 1: Access Your DNS Settings
Log in to your domain registrar or hosting provider control panel.
Step 2: Create a TXT Record
Select the option to add a new record. Choose “TXT” as the record type and enter “@” for the name or host field.
Step 3: Add SPF Syntax
Input your authorized sources using the correct formatting. Example: v=spf1 include:_spf.google.com ip4:192.168.1.1 ~all
Step 4: Publish and Save
Save the new DNS TXT entry and wait for the changes to propagate across the internet.
Step 5: Verify SPF Record
Use dedicated testing tools to confirm the syntax and validate the new configuration.
Understanding SPF Record Syntax (Without Confusion)
SPF syntax often appears complex to new administrators. However, the structure follows logical rules that define exact behaviors. SPF syntax utilizes mechanisms and qualifiers to execute strict validation protocols.
Key Elements
Every record contains specific mechanisms to identify senders. Review these foundational elements:
- v=spf1 indicates the protocol version.
- include authorizing third-party services to send on your behalf.
- ip4 or ip6 authorizes specific server IP addresses.
SPF Policies
Administrators must define how receiving servers should handle unauthorized mail. Choose one of these enforcement qualifiers:
- -all enforces a hard fail, rejecting unauthorized emails.
- ~all enforces a soft fail, marking unauthorized emails as spam.
- ?all enforces a neutral policy, taking no specific action.
Common SPF Mistakes That Break Deliverability
Even small configuration mistakes can cause complete email delivery failures. A domain can hold only one SPF record, as multiple records trigger immediate validation errors.
- Consolidate all authorized sources into a single SPF record. Multiple SPF records on a single domain can cause validation errors, so it’s crucial to merge all sending sources into one comprehensive record.
- Include every sending source in your SPF record. Forgetting to list a service, like your email marketing platform, will cause emails sent from that source to fail SPF authentication.
- Stay within the 10 DNS lookup limit. The SPF specification only allows up to 10 DNS lookups. Exceeding this limit by adding too many “include” mechanisms will cause the validation process to fail.
- Double-check your syntax for errors. Simple mistakes like typos or missing spaces can break the entire authentication string, leading to delivery failures.
SPF vs DKIM vs DMARC (Quick Comparison)
SPF represents only one part of a comprehensive email authentication strategy. SPF works best when combined with DKIM and DMARC to secure your domain infrastructure.
Each protocol serves a distinct and vital purpose in your security stack. Understand how these three technologies interact:
- SPF verifies the sender IP address against an approved public list.
- DKIM verifies message integrity using cryptographic signatures.
- DMARC enforces policy instructions based on SPF and DKIM alignment.
How to Test and Fix Your SPF Record
Testing ensures your setup works correctly and protects your domain reputation. Administrators must routinely verify their DNS configuration to prevent unexpected delivery drops.
Execute these troubleshooting steps to maintain optimal performance:
- Use specialized SPF checker tools to identify syntax errors immediately.
- Check DNS propagation globally to ensure all servers see your updates.
- Review raw email headers to confirm the receiving server returns a “pass” result.
Securing Your Domain for the Future
Establishing a proper Sender Policy Framework (SPF) protects your brand from phishing and improves email deliverability. To ensure reliable communication with your customers, you must finalize your SPF setup and correctly implement your SPF records in your DNS configuration.
A valid SPF record tells receiving mail servers which sources are authorized to send email on your behalf, preventing spoofing and safeguarding your domain reputation.
Ready to lock down your email security and ensure your messages always hit the inbox? Visit emailsequence.com to master SPF and other essential deliverability practices. Start building a more secure and trustworthy email program today.
Frequently Asked Questions
What is an SPF record in email?
An SPF (Sender Policy Framework) record is a type of DNS TXT record that lists all the mail servers authorized to send emails on behalf of your domain, helping to prevent unauthorized use.
Why is SPF important for email deliverability?
SPF is crucial for email deliverability because it allows receiving mail servers to verify that an incoming email claiming to be from your domain was sent from an authorized server, reducing the likelihood of your emails being marked as spam.
How do I create an SPF record?
You can create an SPF record by adding a TXT record to your domain’s DNS settings. This record will contain a list of all the IP addresses and domains authorized to send emails for you.
Can I have multiple SPF records?
No, a domain must only have a single SPF record. Having more than one can cause validation errors and lead to authentication failures, which may result in your emails being rejected by receiving servers.
What happens if SPF fails?
If an email fails the SPF check, receiving email servers may treat it with suspicion. Depending on the server’s policy, the email could be delivered to the spam folder, quarantined, or rejected outright.